
Williams Sonoma knows how to stimulate the economy among foodies. For many of us, when they come out with a new cake pan we all rush out to buy it. Someone mentioned we need a pan library, just as there are libraries for books. Not a bad idea at all, but unfortunately we live too far apart to make that feasible. During the first week of May, WS often gets a visit from me, as DD#2's birthday in 9 May. She never did pick a particular cake for me to bake her this year, so I decided to surprise her with this one.
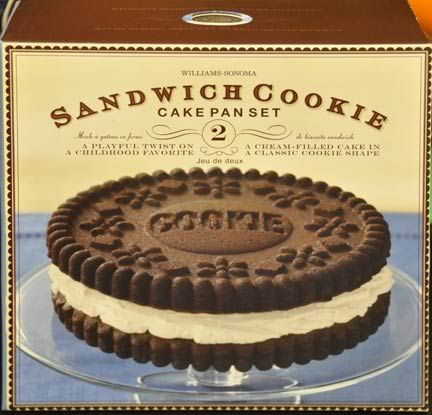
If you go over to Williams Sonoma to get the pan, look for this box:
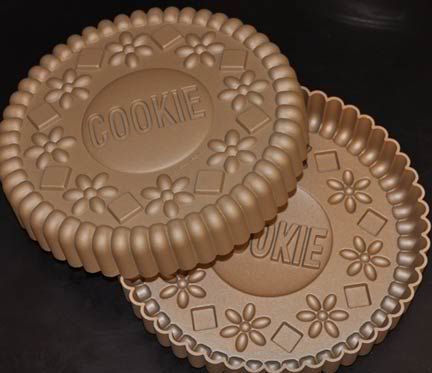
It comes with two identical pans:
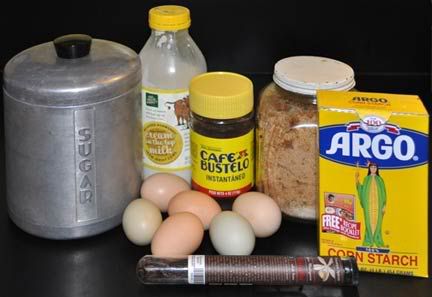
As DD#2 is quite fond of espresso, I chose to use an espresso cream filling in the cake. Here are the ingredients:
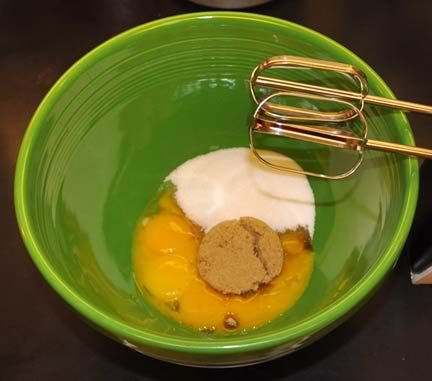
Sugars and egg yolks in a medium Fiesta mixing bowl:
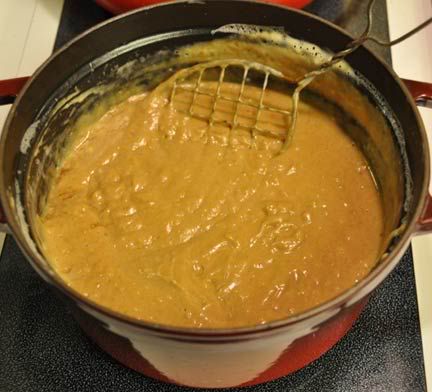
Pastry cream cooking (I love this little Staub pot for tasks such as this, and my grandmother's whisk can't be beat.):
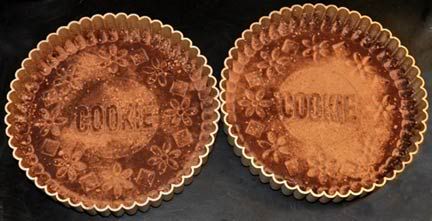
Cookie pans greased and coated with cocoa:
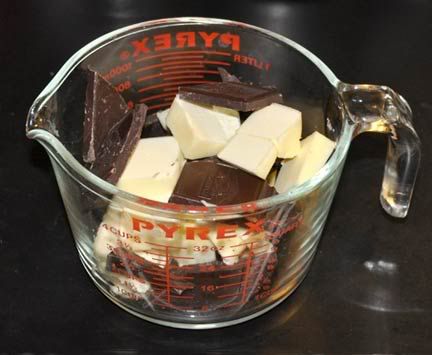
Butter and chocolate ready to melt:
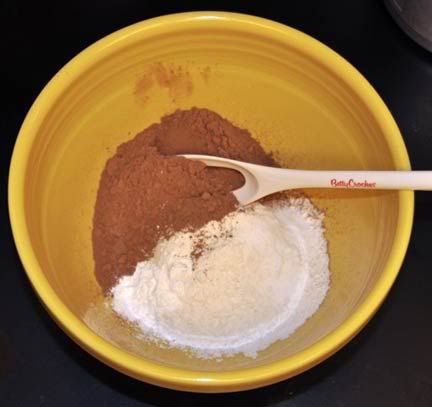
Dry ingredients for cake in a small Fiesta mixing bowl:
Sugar, eggs, and vanilla in Kitchen Aid mixer:

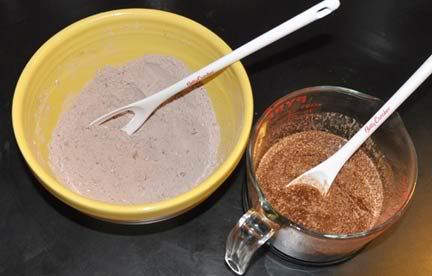
Mixed dry ingredients and melted chocolate/butter mixture:
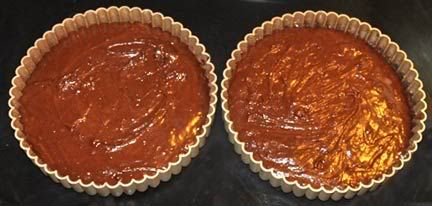
Batter in the prepared pans:
Baked cakes:
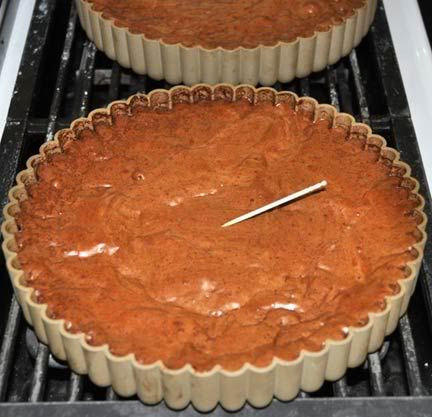
A few crumbs on the toothpick:
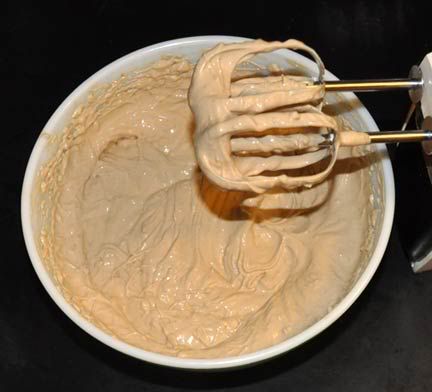
Espresso pastry cream mixed with whipped cream:
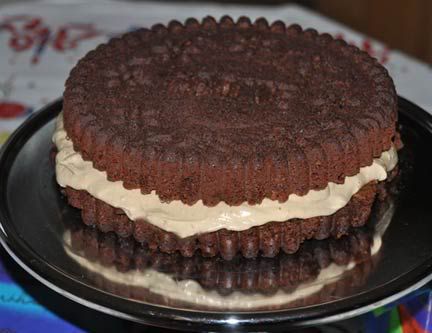
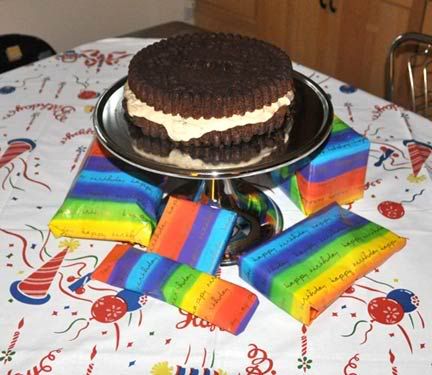
Birthday cake extraordinaire on a 1940s chrome diner cake stand:
| Chocolate Sandwich Cookie Cake with Espresso Cream Filling Espresso Pastry Cream: Originally from Bon Appétit January 1998 2 cups whole milk 1/2 vanilla bean, split lengthwise 6 large egg yolks 1/3 cup sugar 1/3 cup (packed) light brown sugar 1/4 cup cornstarch, sifted 2 Tbsp instant espresso powder dissolved in 1 Tbsp water Pour milk into heavy medium saucepan. Scrape in seeds from vanilla bean; add bean. Bring to simmer. Remove from heat and discard bean. Using electric mixer, beat yolks and both sugars in large bowl until very thick, about 3 minutes. Add cornstarch; blend well. Gradually whisk half of hot milk into egg mixture. Add mixture to pan; whisk over medium heat until thickened and boiling, about 4 minutes. Remove from heat. Stir in espresso mixture. Transfer to medium bowl. Place plastic wrap directly onto surface of pastry cream; chill until cold, at least 3 hours. (Can be made 2 days ahead; keep chilled.) Whisk pastry cream until smooth before using. Cake: Originally from Williams Sonoma on the back of the cookie pan box 1/2 cup cocoa, plus more for dusting 7 oz bittersweet chocolate, broken into pieces (I used Ghiradelli) 14 Tbsp unsalted butter, cut into cubes 1 cup flour 1 tsp baking powder 3/4 tsp salt 1 3/4 cups sugar 4 eggs 1 3/4 tsp vanilla Have all ingredients at room temperature. Preheat oven to 350°F. Using a small pastry brush, grease the two cookie pans with softened butter, being sure to coat the details and crevices. Or spray with Baker’s Joy. Dust thoroughly with cocoa and tip out extra. Put the chocolate and butter in a microwave safe bowl and heat about 1½-2 minutes to melt, stirring once. (Or heat chocolate in double boiler to melt, then stir in butter, a few pieces at a time, until blended.) Let the chocolate cool slightly. Whisk together flour, cocoa, baking powder and salt. Set aside. In mixer beat the sugar with the eggs and vanilla. Stir in the chocolate mixture to combine, then mix in the dry ingredients. Divide batter between prepared pans. Spread evenly and tap to remove any bubbles. Bake for 35 minutes, or until toothpick comes out with a few crumbs attached and the tops of the cakes are shiny. Let cool on wire rack for 15 minutes, then turn out on cutting board. Assembling: 1 cup heavy cream, whipped stiff Mix whipped cream into espresso pastry cream. With a large spatula or pizza peel, turn over one cake layer onto serving plate with design side down. Spread with espresso cream filling. Place second layer, design side up on top. Cut into slices and serve. Notes: 1. The batter is very thick and the cake turns out to be a brownie-like texture. 2. In my oven I took the cake out after 30 minutes. 3. Be sure you prepare the pans well. I think I didn't get the sides of one of them coated well with cocoa and had trouble getting it to release properly. This is par for the course for me in my chequered history of cake baking. The second one came out OK. Needless to say, the first layer was the bottom! |


 Alabama Time
 Paris Time
 Venice Time


7 comments:
I've been tempted by the pan but have withheld getting it (whenever I see a new toy, I ask myself "would Ina buy it?") -- but if I had children I know I would get it in a minute -- what a great cake and children (big or little) would adore it!
OMG! That looks so yummy. I wish I had a WS around here. I would buy that cake pan in a heart beat. That's a good looking cake!
Becky, I've seen the pan and thought it would be fun to have. You've convinced me! ~ Cora
Becky......looks real good, I showed it to my daughter and now she wants one too. I wonder if the Williams Sonoma has one here too. I'll check it out next week.
Thanks for sharing.......and your daughter was one lucky 'Birthday' girl.
I have been toying with getting this set of cake pans, Becky. Your cake is just beautiful and I'm sure that Tori enjoyed it so much. Happy Birthday to your darling daughter...
Thank you all so much! The cake was fun to make and it has been greatly enjoyed by the recipient. :-)
Oh wow, that cake look DELICIOUS!!!
Post a Comment