Several years ago I got the cutest witch foot cakestand. It is part of Dept. 56 Krinkles' line. But with being ill and such, this is the first year I have been able to use it. Last year the cover of Celebrate Halloween featured a gorgeous chocolate pistachio cake. As soon as I saw the picture of the cake I thought it would be perfect on the cakestand with the witches feet. This year all the stars aligned just right to make that happen!
In the magazine the recipe calls for a boxed devil's food cake mix and boxed white cake mix. I wanted to use a chocolate cake recipe that was in Gourmet some years ago and my great-grandmother's white cake recipe. The cake in Gourmet called for two 10"×2" pans and I wanted to use three 8" pans. That's an easy substitution. Our white cake recipe can be baked in 8" pans or 9" pans. This is the same recipe we use to make our famous Fresh Coconut Cake. I've done that one so many times I could almost bake this cake in my sleep. All it needed for this recipe was to add some green food colouring. I adapted Celebrate Halloween's Pistachio Filling and used their recipe for the Chocolate Ganache Icing with Kahlua.
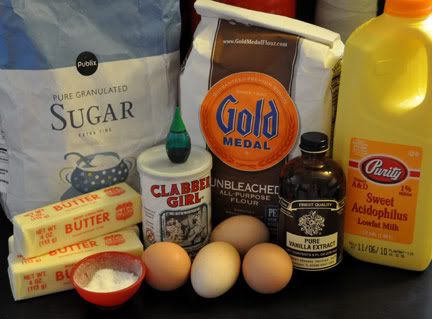
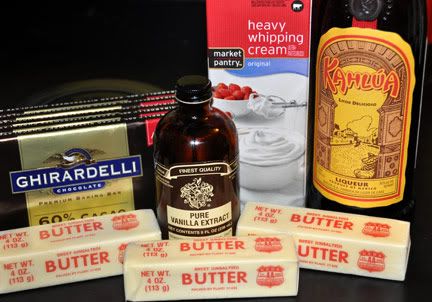
As there are two cakes, as well as separate filling and icing, it's easier to do this one is steps. I started with the chocolate cake. As always, I gather together the ingredients.
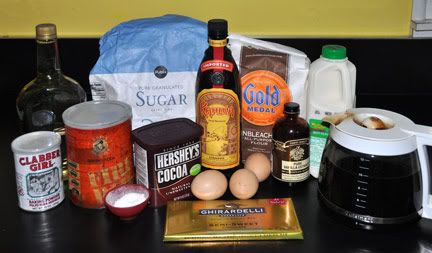
Not sure why the Kahlua got ahead of itself and jumped into the photo! LOL. It doesn't come into play until the ganache!
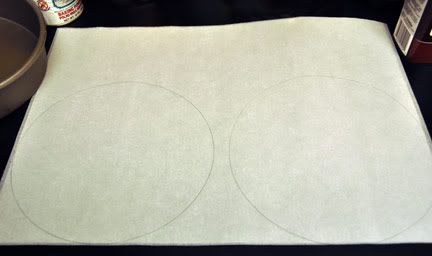
Parchment, ready to be cut into circles to line the cake pans:
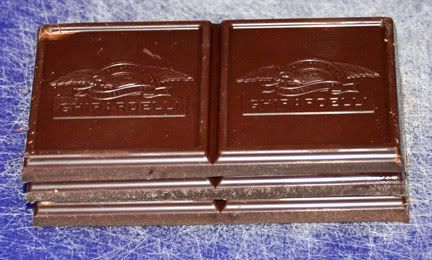
For the chocolate I used Ghiradelli squares.
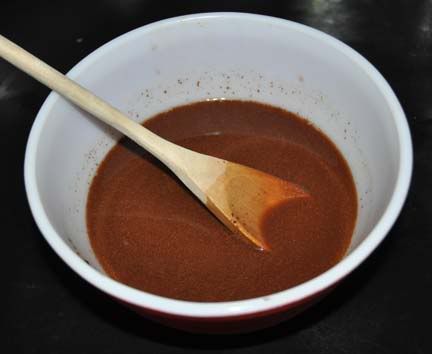
Chocolate melting in the hot coffee:
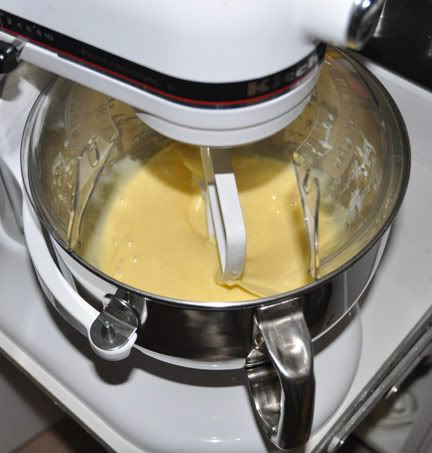
Eggs, oil and buttermilk all mixed together:
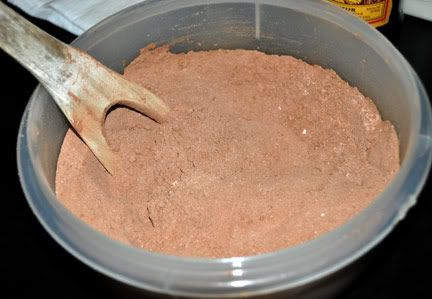
Dry ingredients:
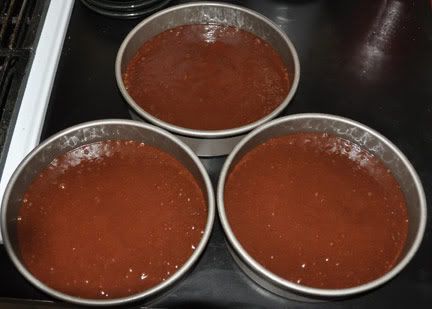
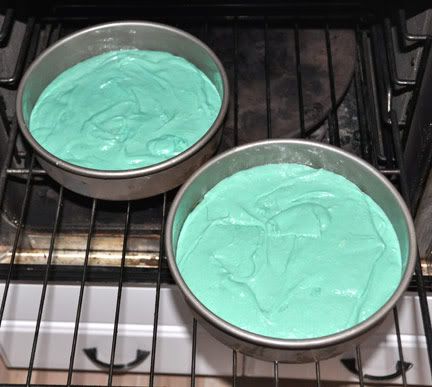
Cake batter ready to go in the oven:
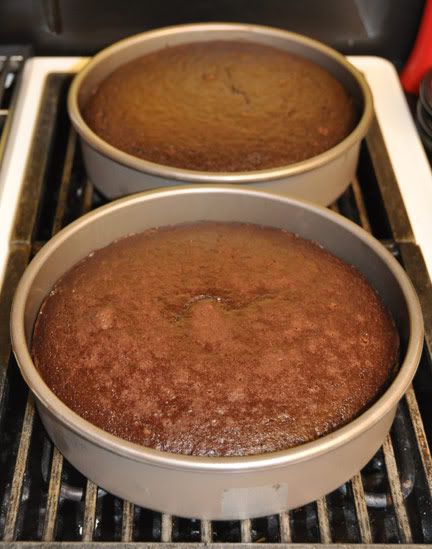
Cakes cooling in the pans:
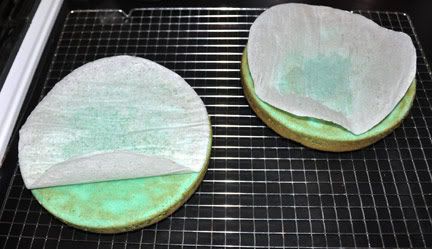
Turned out of pans:
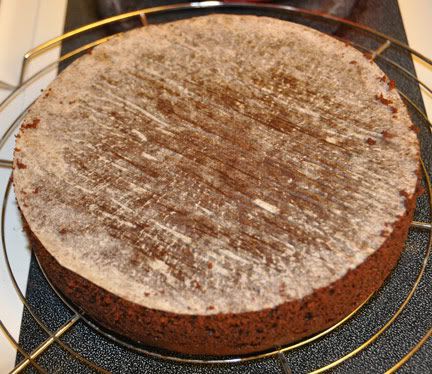
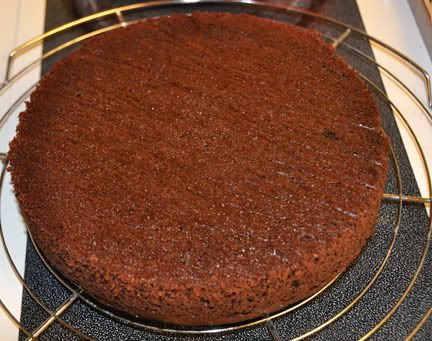
And parchment removed:
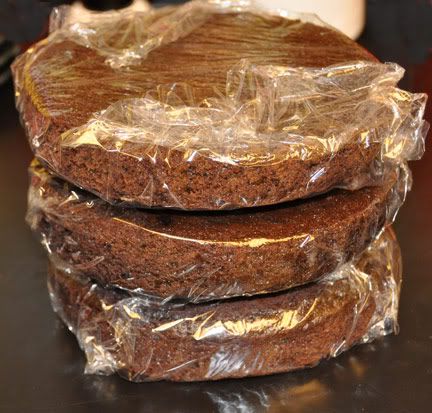
Wrapped in plastic and ready to go in fridge:
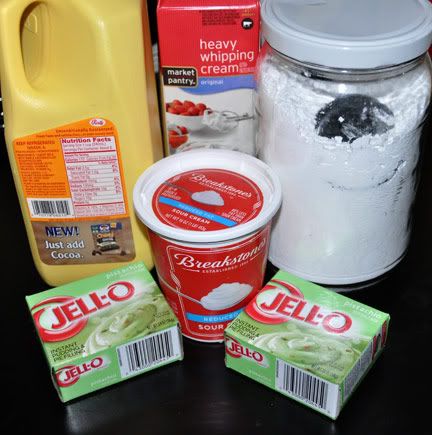
Now the ingredients for the green cake layers:
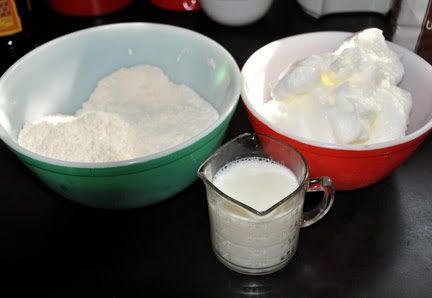
Mise en place is always important, but even more so when baking something like this cake. Here we have the sifted dry ingredients, the milk and the whipped egg whites, all ready to be added to the creamed butter and sugar.
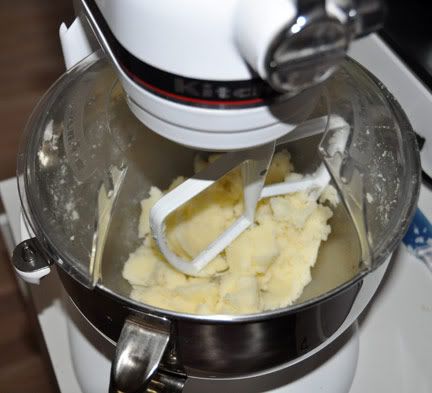
And speaking of creamed butter and sugar:
Green batter ready to be baked:
And here are the layers turned out to finish cooling:
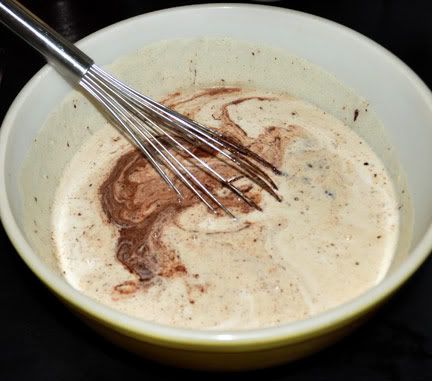
The filling couldn't be easier! Collect the ingredients:
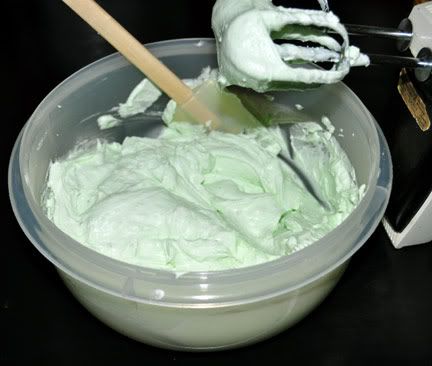
And whip them all together:
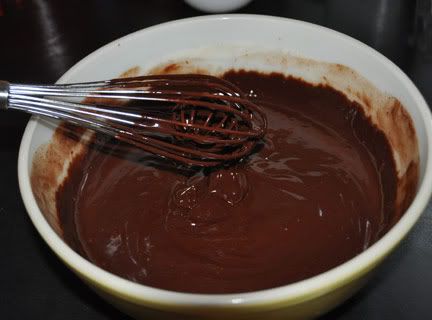
Last, but not least, it's time for the ganache:
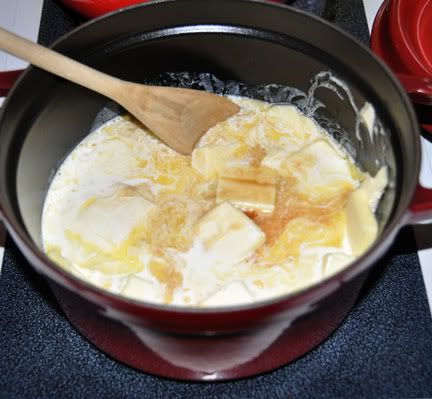
Butter, cream, Kahlua and vanilla heating:
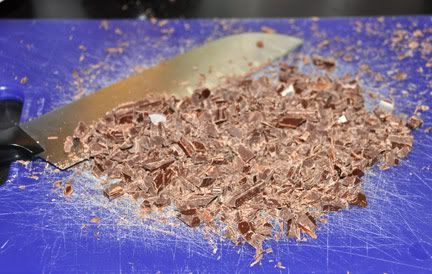
Chopped chocolate:
Hot liquid ingredients melting the chopped chocolate:
And the warm ganache ready to chill:
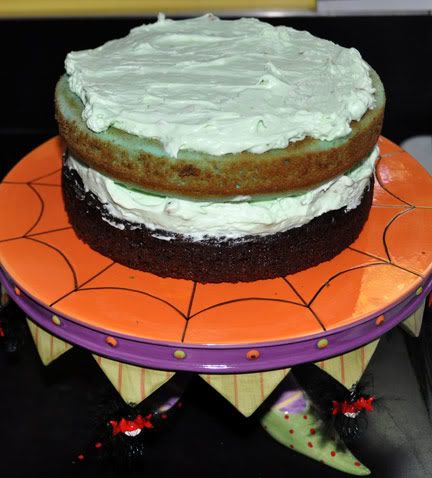
Time to assemble. Here we are with two of the layers:
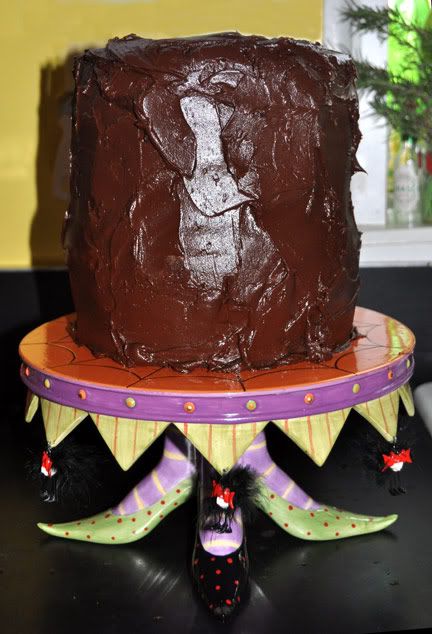
Ganache icing applied:
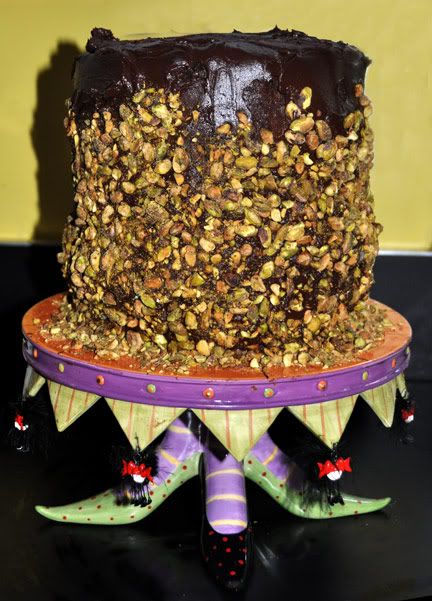
Pistachios patted on the sides - the cake is ready for presentation:
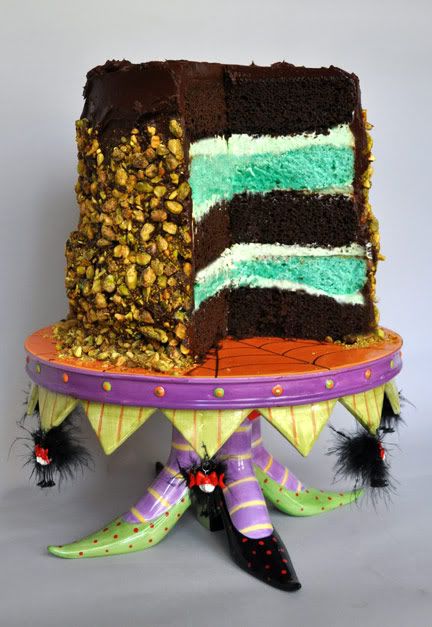
After cutting:
And here's one of the five-layer slices:
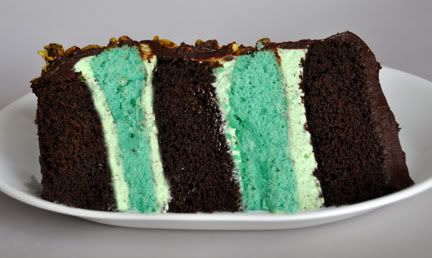
It had to go on a platter to hold it!
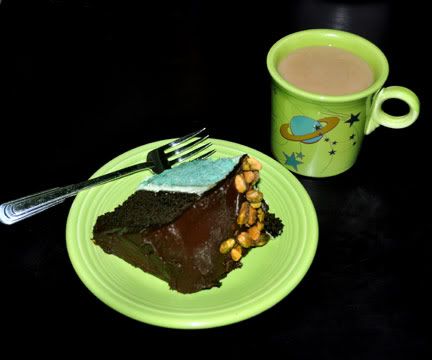
A more reasonable two-layer slice plated on chartreuse Fiesta along with some café au lait served in one of the chartreuse Fiesta mugs from the American Museum of Natural History:
| Monster of a Chocolate Pistachio Cake Chocolate Cake Gourmet, March 1999 3 oz semisweet chocolate 1½ cups hot brewed coffee 3 cups sugar 2½ cups all-purpose flour 1½ cups unsweetened cocoa powder (not Dutch process) 2 tsp baking soda ¾ tsp baking powder 1¼ tsp salt 3 large eggs ¾ cup vegetable oil 1½ cups buttermilk ¾ tsp vanilla Green Cake This is my great-grandmother's white cake recipe with green food colouring added. 3 cups flour, sift before measuring 3 tsp baking powder ½ tsp salt 2/3 cup shortening or butter 1½ cups sugar 1 cup sweet milk 1 tsp vanilla 1 tsp green food colouring 4 egg whites, beaten until stiff Pistachio Filling adapted from Celebrate Halloween, Phyllis Hoffman 2 (3.4 oz) boxes pistachio instant pudding mix 2¼ cups heavy cream 1 cup sour cream ¾ cup milk ½ cup confectioner's sugar Chocolate Ganache Icing with Kahlua Celebrate Halloween, Phyllis Hoffman 18 oz bittersweet chocolate 1 cup plus 2 Tbsp heavy cream 1 cup plus 2 Tbsp unsalted butter ¼ cup Kahlua 1 tsp vanilla 2 cups chopped roasted pistachios Make chocolate cake: Preheat oven to 300°F and grease pans. Line bottoms with rounds of wax paper or parchment and grease paper. Finely chop chocolate and in a bowl combine with hot coffee. Let mixture stand, stirring occasionally, until chocolate is melted and mixture is smooth. Into a large bowl sift together sugar, flour, cocoa powder, baking soda, baking powder, and salt. In another large bowl with an electric mixer beat eggs until thickened slightly and lemon coloured (about 3 minutes with a standing mixer or 5 minutes with a hand-held mixer). Slowly add oil, buttermilk, vanilla, and melted chocolate mixture to eggs, beating until combined well. Add sugar mixture and beat on medium speed until just combined well. Divide batter between pans and bake in middle of oven until a tester inserted in centre comes out clean, 1 hour to 1 hour and 10 minutes. Cool layers completely in pans on racks. Run a thin knife around edges of pans and invert layers onto racks. Carefully remove wax paper and cool layers completely. Cake layers may be made ahead and kept, wrapped well in plastic wrap, one day at room temperature or three days in the refrigerator. Make green cake: Preheat oven to 375°F and grease pans. Line bottoms with rounds of wax paper or parchment and grease paper. Sift flour, baking powder and salt two times and set aside. Cream shortening or butter and sugar. Add dry ingredients alternately with milk. Stir in vanilla and green food colouring. Fold egg whites gently into batter. Bake for about 25 minutes. Cool cakes for 10 minutes on a wire rack. Invert onto rack, carefully remove waxed paper and finish cooling. Make pistachio filling: Mix together the pudding mix, cream, sour cream, milk and confectioner's sugar with an electric mixer on medium speed until stiff peaks form. Refrigerate until ready to use. This can be made a day or two ahead. Make chocolate ganache icing: Chop the chocolate and place in a large bowl. Mix the cream, butter, Kahlua and vanilla in a saucepan. Using MED-HI heat, bring to boil. Pour over the chocolate, whisking until the chocolate is smooth and melted. Refrigerate to cool to spreading consistency, about 30-45 minutes. Assemble the cake: Divide the pistachio filling into fourths. Place a layer of chocolate cake on your cakestand. Spread ¼ of the pistachio filling on top. Add a layer of green cake and spread with ¼ of the pistachio filling. Repeat with remaining layers of cake, omitting the filling on top of the top layer. Spread ganache evenly over the sides and top of cake. Press pistachios onto the sides of the cake, going about ¾ of the way up from the bottom. Notes: 1. The chocolate cake layers were baked on Thursday. Then I wrapped them well in plastic and kept them in the refrigerator until today (Sunday). I started assembling the cake while the cake layers were still cold and that worked very well. 2. I used 8"×2" cake pans. Next time I bake this cake, I think I will use 9" pans so the cake won't be quite so tall. It will probably make it a little easier to cut and to store. 3. Next time I think I will also bake the green layers ahead of time, wrap and store them in the refrigerator, too, until it is time for assembly. 4. I stirred the ganache after it had been chilling around 30 minutes because it was still too soft in the middle of the bowl and was getting too firm around the outside edges. |
Have a frightfully enchanted evening!

namasté,


 Alabama Time
 Paris Time
 Venice Time